Wednesday, December 19, 2012

'O Christmas Tree'

YAY, for our first Christmas Tree! My family has always had live Christmas trees; mikie, on the other hand has never had one! A fake Christmas tree was not a compromise that I was willing to make, good thing I didn’t have to! Back in Maryland to cut down a Christmas tree we would go to a Christmas tree farm that was full of perfectly grown and groomed trees. We would search row by row until we found ours, a flawless, full, perfect Christmas tree.
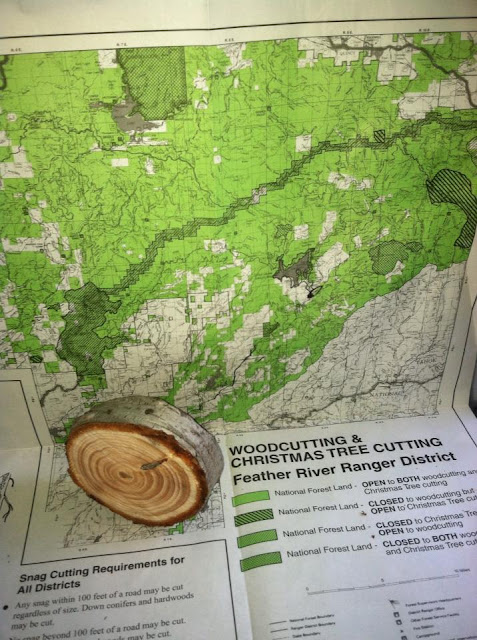
Cutting down a Christmas tree looks a little bit different here. Like everywhere in America there are lots full of pre-cut Christmas trees, but if you want to cut one down they send you into the forest! This is how it works; you go to the forestery center (we live in Plumas National Forest) and buy a pink tag for $10. Then they give you a map and send you on your way. Here is our pink tag, as soon as you cut your tree you have to tag it. On the map, the green area is where you are allowed to cut. Then you go Christmas tree hunting! You will find nothing perfectly full, or round, each tree is different. Perfectly imperfect!


I think these might be a little too big :-)
And we found it! After you find it, it is really hard to stop looking. I feel like my eye's are constantly on the look out for christmas trees! It's so fun to watch all the cars pass by our house with christmas trees plopped on top of them!


 Here is a round cut from the bottom of the tree, we are going to make it into an ornamnet so we will always remeber our first christmas tree. Also we circled where we found our tree on the map.
Here it is....

I had fun playing around on my new camera taking pictures of our tree. Here it is all decorated!

Again, a shot with the new camera!

Having some fun with shutter speed.

Tuesday, December 18, 2012

[Big Girl Camera]

My overly excited husband has been begging to give me my Christmas gift for over a week now. After a battle every night, and explaining to him that Christmas is still at least 2 weeks away, I gave in! He pays attention, and he knows me better then I know myself! So here it is my upgrade! Hopefully no more iPhone pictures, now I can share with you clearer details of our life. Now to learn how to use this thing…any suggestions?

{Glimpse of Glory}


This is what has been going on here in Northern California for the past week. As we gear up to go "home" for Christmas, our tiny little house will be covered with 10 more inches of snow. This weekend we took some time to drive up 'our' mountain to play in the snow! Yes, we still take the time to play together; it's good for us and good for our marriage!
The picture below is actually from Tahoe, a few weekends ago. Somehow I captured all of these pictures on my iphone...

 
This is out backyard, but not for long! We are actually moving houses this January. I say moving houses becuase we will be moving less then a minute away from where we live now. There will be more to come about that later.

 I am thankful, thankful for this Holiday Season where I can celebrate HOPE! The hope that I could not live without! Especially in the messiness of this world, this peaceful view is a tiny glimpse into the glory that God has for us! We are created with the ability to experience a small foretaste of heaven. Today I am finding it here, in my back yard, thousands of miles away from 'Home'.

Monday, December 10, 2012

Christmas Wreath


Last Year we went "all natrual' DIY Christmas Wreath (thanks Mom!) This year I decicded to be a little creative with my wreath making. Here's how I made it, missing in this picture is my hot glue gun (the most importnat tool!)

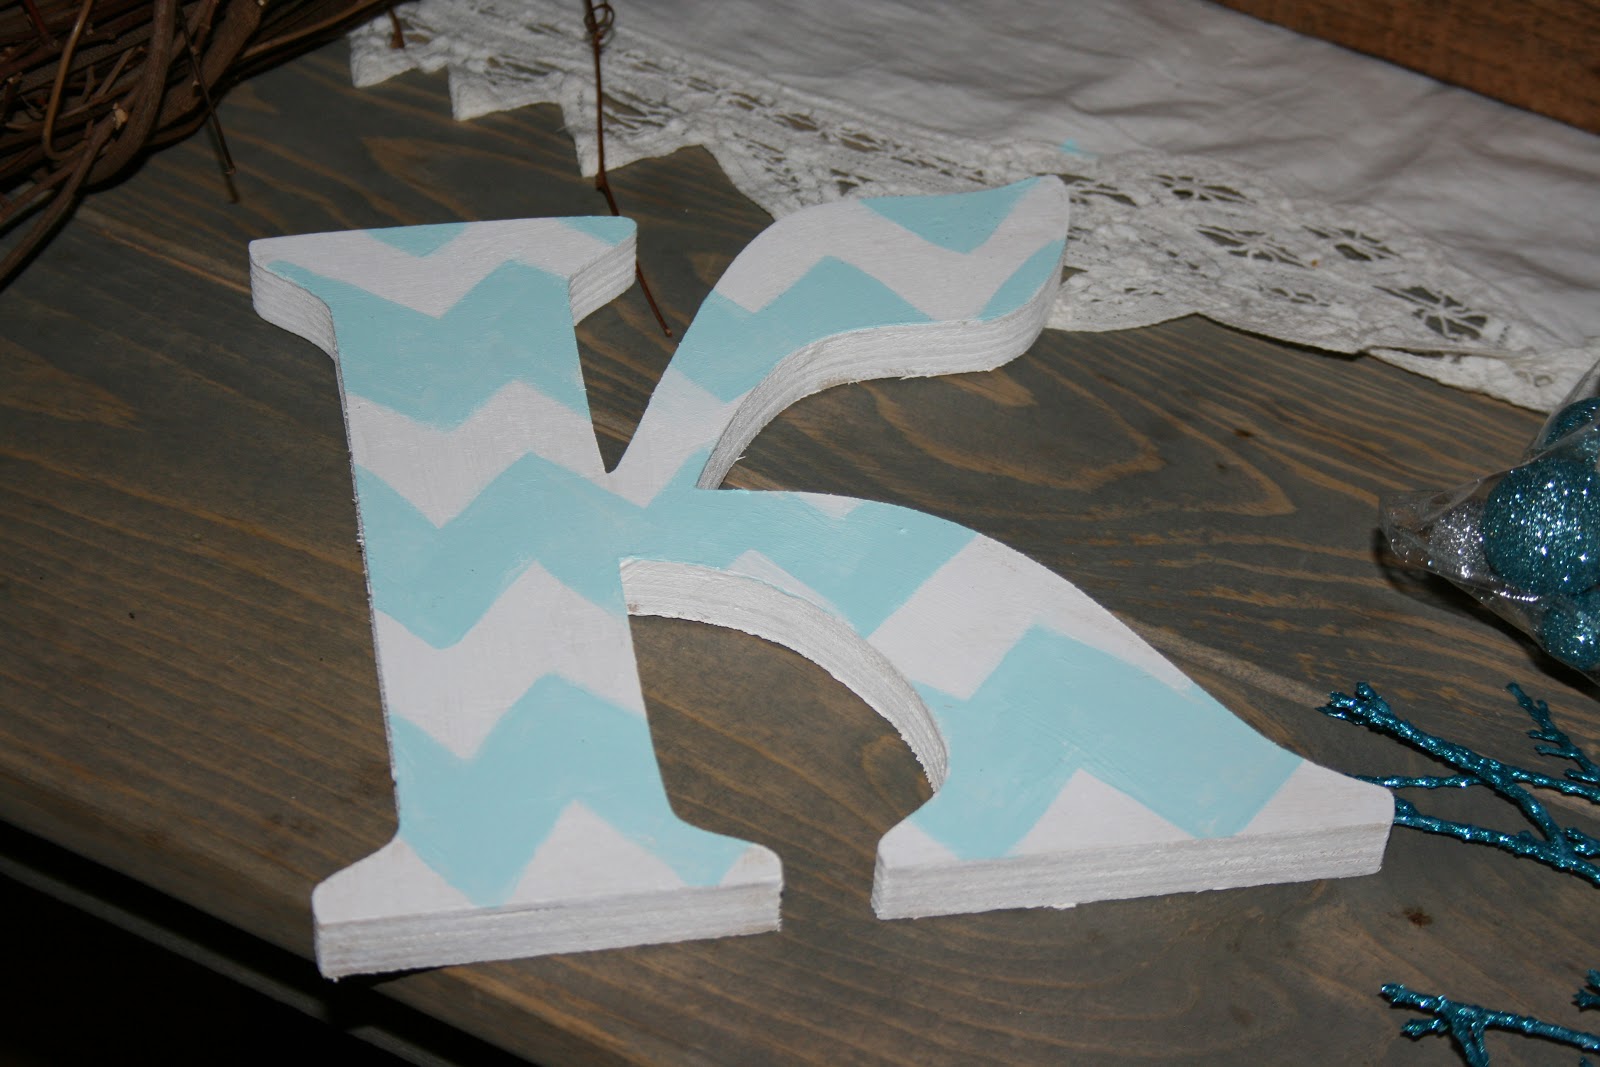
 Here is what I used. The letter K, pointy sparkely decorations (from Michaels), a wreath, and there is my glue gun in the very back! Don't mind our messy table.
  I painted the letter K in a "chevron pattern", not my best work, next time I will tape the pattern and not paint it freehand.

Here it is! It is hanging on our front door now, I am hoping to get a picture soon!


Wednesday, November 28, 2012

Call me Paula {Cinnamon Rolls}


Here is an awesome recipe that I have made twice in the past couple of weeks! The recipe comes from Paula Dean, but I can't be a good baker without changing some of the ingredients!


 I need to be better about taking pictures during the process! This picture is after I made the dough, rolled it into a rectanle, spread the filling inside and rolled it into a log.

is your mouth watering yet becuase mine is.....

     Here is my kitchen help, spooing on the glaze (the kanes perfer cinnamon rolls with out raisin and nuts)

Spoon in hand and she is ready to go! I love my Nan!

Ingredients


Dough:

  • 1/4-ounce package yeast
  • 1/2 cup warm water
  • 1/2 cup scalded milk <I just put it in the microwave
  • 1/4 cup sugar
  • 1/3 cup butter or shortening <butter :-)
  • 1 teaspoon salt
  • 1 egg
  • 3 1/2 to 4 cups all-purpose flour

  • Filling:

    • 1/2 cup melted butter, plus more for pan <i sprayed the pan with butter flavored cooking spray
    • 3/4 cup sugar
    • 2 tablespoons ground cinnamon
    • 1/4 cup brown sugar < i added this ingredient all together
    • 3/4 cup raisins, walnuts, or pecans, optional < I put this on top, mostly bc i forgot to put it inside :-)

    Glaze: BEST PART!

    • 4 tablespoons butter
    • 2 cups powdered sugar
    • 1 teaspoon vanilla extract <or more
    • 3 to 6 tablespoons hot water
    Heat oven to 350 degrees F.

    In a small bowl, dissolve yeast in warm water and set aside. In a large bowl mix milk, sugar, melted butter, salt and egg. Add 2 cups of flour and mix until smooth. Add yeast mixture. Mix in remaining flour until dough is easy to handle. Knead dough on lightly floured surface for 5 to 10 minutes. Place in well-greased bowl, cover and let rise until doubled in size, usually 1 to 1 1/2 hours.

    When doubled in size, punch down dough. Roll out on a floured surface into a 15 by 9-inch rectangle. Spread melted butter all over dough. Mix sugar and cinnamon and sprinkle over buttered dough. Sprinkle with walnuts, pecans, or raisins if desired. Beginning at the 15-inch side, role up dough and pinch edge together to seal. Cut into 12 to 15 slices.

    Coat the bottom of baking pan with butter and sprinkle with sugar. Place cinnamon roll slices close together in the pan and let rise until dough is doubled, about 45 minutes. Bake for about 30 minutes or until nicely browned.

    Meanwhile, mix butter, powdered sugar, and vanilla. Add hot water 1 tablespoon at a time until the glaze reaches desired consistency. Spread over slightly cooled rolls.


    enjoy!

    Tuesday, November 27, 2012

    {East Coast West Coast}


    My flights across the country Via iphone maps!
    To live so far from my family calls for a few cross country flights a couple times a year. This fall I was able to be in Maryland for 3 weeks! An eventful three weeks that was! 

    While I was in Maryland the weather went from this...


    to this! As Hurricane Sandy made her appearance, it was an adventure to say the least!

    While we were home we atteded weddings, survived hurricane Sandy,helped suport our family during an unexpected illness, and spent time with friends who are so important to us!


    Here I am back in California. I'm excited to share with you our Thanksgiving and Chirstmas adventures!

    Thursday, August 30, 2012

    What a Wonderful Maker


    If you have never been to Yosemite, you need to go! We have so many pictures to share with you but here are just a few!


    We were greeted with this view as we approached our camp ground. Huge Granite Mountains jetting out of the earth around every turn.


    Apparently it was shocking! Our campsite was located in between the waterfalls and the famous half dome on a awesome river. What a blessing it was to wake up to such a wonderful view.

    You cannot live in California without seeing the Giant Red Wood trees. Little did I know some of the largest trees in the world are found inside Yosemite National Park! (Giant Sequoias in Mariposa Grove)


    Here is sweet Grayson enjoying hanging out on the river. I really think this natural beauty is proof
    that we are we are loved.

    Wednesday, August 22, 2012

    DIY Mason Jar Coozy


    Here is a super fun tutorial I found on Pinterest. Also, I used a polymer clay button I made in a previous post. I made this one for Mikie to use as a coffe sleeve but he is refusing because I sewed on a heart. Now I am trying to brainstorm a more manly design.


    This Boy


    I miss him! I don't understand why God chose me and my family to share this little blessing with. He is pure joy and so special to me. I have so much Love for this boy, and right now I'm having a really hard time understanding why I have to live so far away from him. I'm trying to figure out the lesson I am supposed to be learning in being so far away.... Ready for less confusion and more peace.

    I can not overlook the adventure we are living here in california. This weekend we are going camping in Yosemite. It's my first camping experience, and yes I'm a little nervous but I'm sure I will have memories to last a lifetime.

    I promised myself I would right my(OUR) story down. I need to start doing better job!

    Saturday, May 5, 2012

    3rd grade flowers Inspired by Vincent Van Gogh

    In 3rd Grade we carefully examined Van Gogh's Sun Flower series of paintings. We talked about his FAMOUS brushstrokes and the style of IMPRESSIONISM. We began creating impressionistic drawings of Van Gogh's sunflowers. We defined impressionism as painting our 'first impression' and not painting ever single detail that we see. It was super fun and every students art work looked different. The medium we used was OIL PASTLE, the kids were amazed by the ability to mix colors and color in layers. I encouraged them to "color the paper away" so that their was color on the entire page.

    Here are Van Gogh painting that we examined:

    I covered the desk with newspaper so the students could color all the way to the edge. I also told them to choose their own colors,  they are the artists so they can make their own artistic decisions :-)


    I showed them how to add a white highlight so the vase would look "3D"


    Here are some finished product:


    Thursday, May 3, 2012

    Glass Mosaics with 4th Grade

    Hopefully this is my first post of many elementary art projects!!! For the past few months I have been teaching ART to 3rd through 6th grade at Yuba Feather Elementary School. It has been an awesome experience and my creative juices are flowing.  One of the first projects I decided to do was making glass mosaics. I have a ton of glass left over from a stained glass course I took in college. I chose to do this project with the smallest class, which happened to be 4th grade with only 19 students. Here are some pictures I took along the way...

    Cutting glass took FOREVER! All you need is a glass cutter, running pliers, and a willing husband. Glass cutting took way longer then I expected so Mikie and I took shifts (I probably shouldn't have left cutting for the last minute :-/). I think all of the blisters, cuts, and glass shards were totally worth it :-)


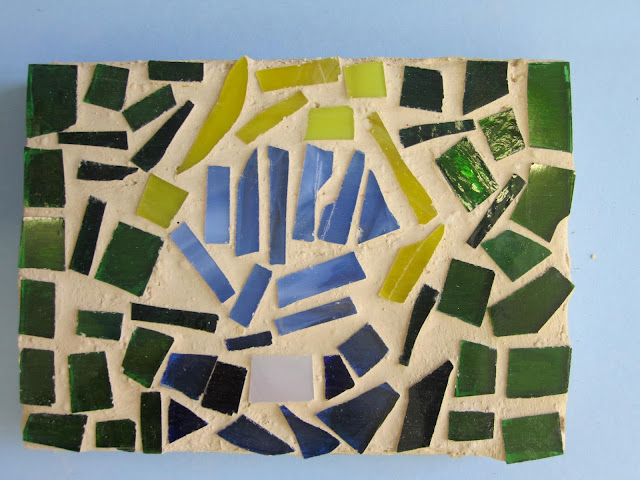
    Time to glue glass to pieces of cut wood. I learned that wood glue works the best, we applied glue with a small paint brush. The theme we decided to go with was "under the sea", we made some sketches, talked about creating an image with small squares, and discussed the importance of creating contrast between image and background.


    When they finished I took them home to grout them. I didn't really know what I was getting myself into here! I learned it would have been way easier to grout one large mosaic then 19 small ones, needless to say after a few hours I did it! If anyone has grouting advice I am open to any suggestions!!!


    Here is a before and after of an awesome crab, made by Kylie:
    Take a look at a few finished products!

    Starfish

    Sea Turtle
    Clam with a Pearl
    Shark


    Their talents are impressive!