Saturday, October 11, 2014

{DIY} Hair Elastic

Another birthday party, another DIY present. I have made these hair elastics on a few occasions, they are a great addition to any gift bag. They retail for up to $10 for 5 hairs ties, which is crazy! You can make 8 hair ties for $1.20. Yes, I said 8! A yard of elastic cost roughly $2, which makes 8 hair ties.
I bought my elastic at a local fabric store but there are a ton of online stores that offer elastic. Here is one that offers a yard of elastic for $1.20.

To make the hair ties you cut an 8 inch strip, fold the elastic in half, and tie it off! It's so simple!


I used a craft paper tag to display the hair ties. The other part of the gift was handmade ceramic initial disks, they are for sale on my etsy store. My store is currently closed as I build more inventory, I haven't quite figured out how to balance a new baby and my etsy store:-(


A tiny present for my favorite 9 year old! 


Friday, October 10, 2014

Celebrate Well {Being}


My family is currently healthy.

I don't take it lightly, good health is denied to many. Growing up with ‘my other favorite boy’ my brother, this lesson sits close to my heart. In most cases we don't even think about our health until something happens whether it be a small cold or something more serious.  In living life and reading countless stories, I've learned that sickness doesn't discriminate, it can happen to anyone at any time. So how do we not live in fear? If I’m honest, that fear occupies my thoughts more than I would like to admit.

So what do we do, what sort of action can we take? First, I go to the Lord, recalling and repeating that HE doesn’t give us a spirit of fear but of power, love and a sound mind {2 Timothy 1:7}.
This is something my Nana would repeat to all of us so much so that it’s an immediate response to dealing with fear in my life.  HIS word is living and active, it takes up residence in our hearts and HE comforts us.

What else can we do to deal with fear?

We live!

Live fully, take nothing for granted. Linger in the moments. The snuggles, the tiredness, the conflict. Feel your emotions, fully! Let the tears fall. Those tears that you are holding back because you are worried what others may think; the happy ones, the sad and the compassionate tears, Let them fall. It means you’re here, you’re in it.

It can be so hard to let yourself experience your emotions. Oh so hard. I feel slightly hypocritical even writing about it. There is a struggle in my heart to 'fully' live. I need to speak these truths into existence, and do my best to experience life fully. If I don’t attempt to live this way I let fear win. It’s a daily battle, but it’s worth the fight.

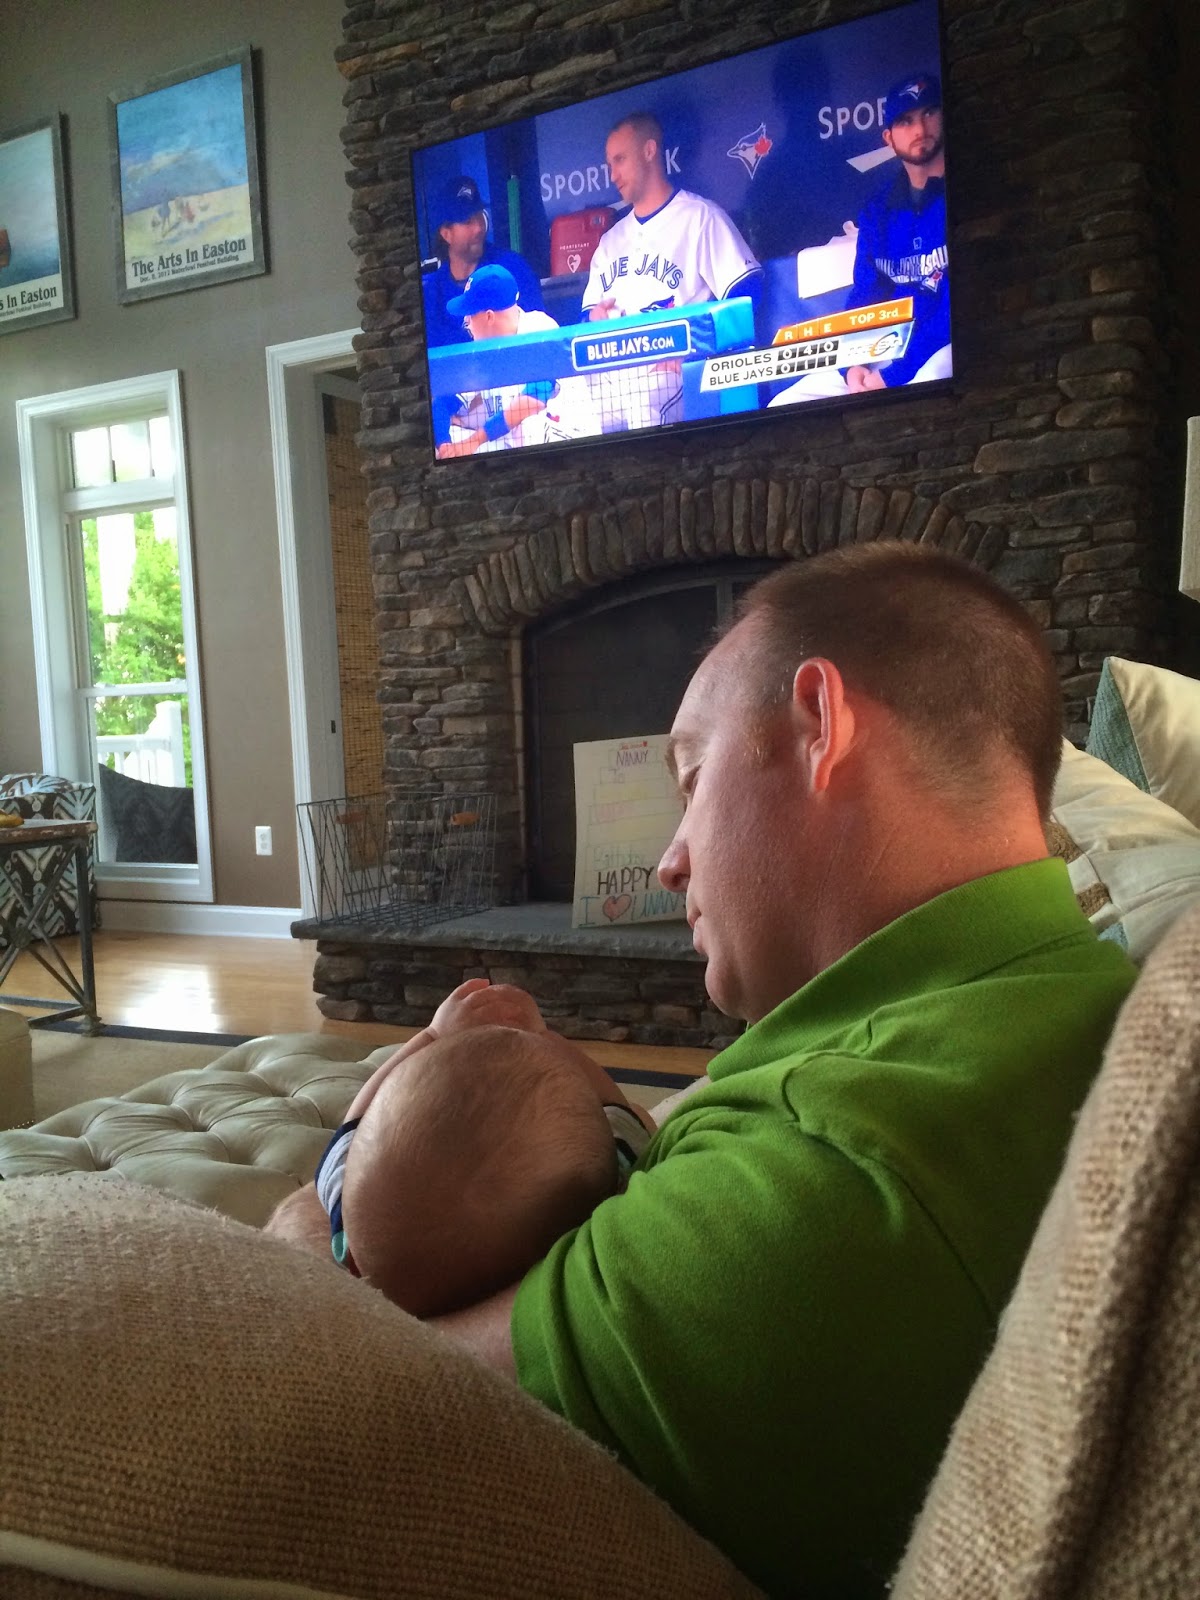
Tangibly, I will let my words and photographs be evidence, and a reminder of truly living. Here are a few pictures of people we love, loving on our little boy! This is evidence, evidence of moments where life was lived. 


Thursday, October 9, 2014

Bat {Wreath}


Last year I made this burlap wreath from a wire wreath and burlap ribbon. It's an awesome base wreath for every season. This year I went for more of a halloween theme because of our halloween party, I really like how it turned out! To make the bats, I used different sized sheets of card stock and scissors. I folded the paper in half and drew and cut out the bat shape, when you unfold you have a perfectly symmetrical bat! I also added an extra fold to the wings to give it a little more depth. 


Painted Burlap {Fall} Banner


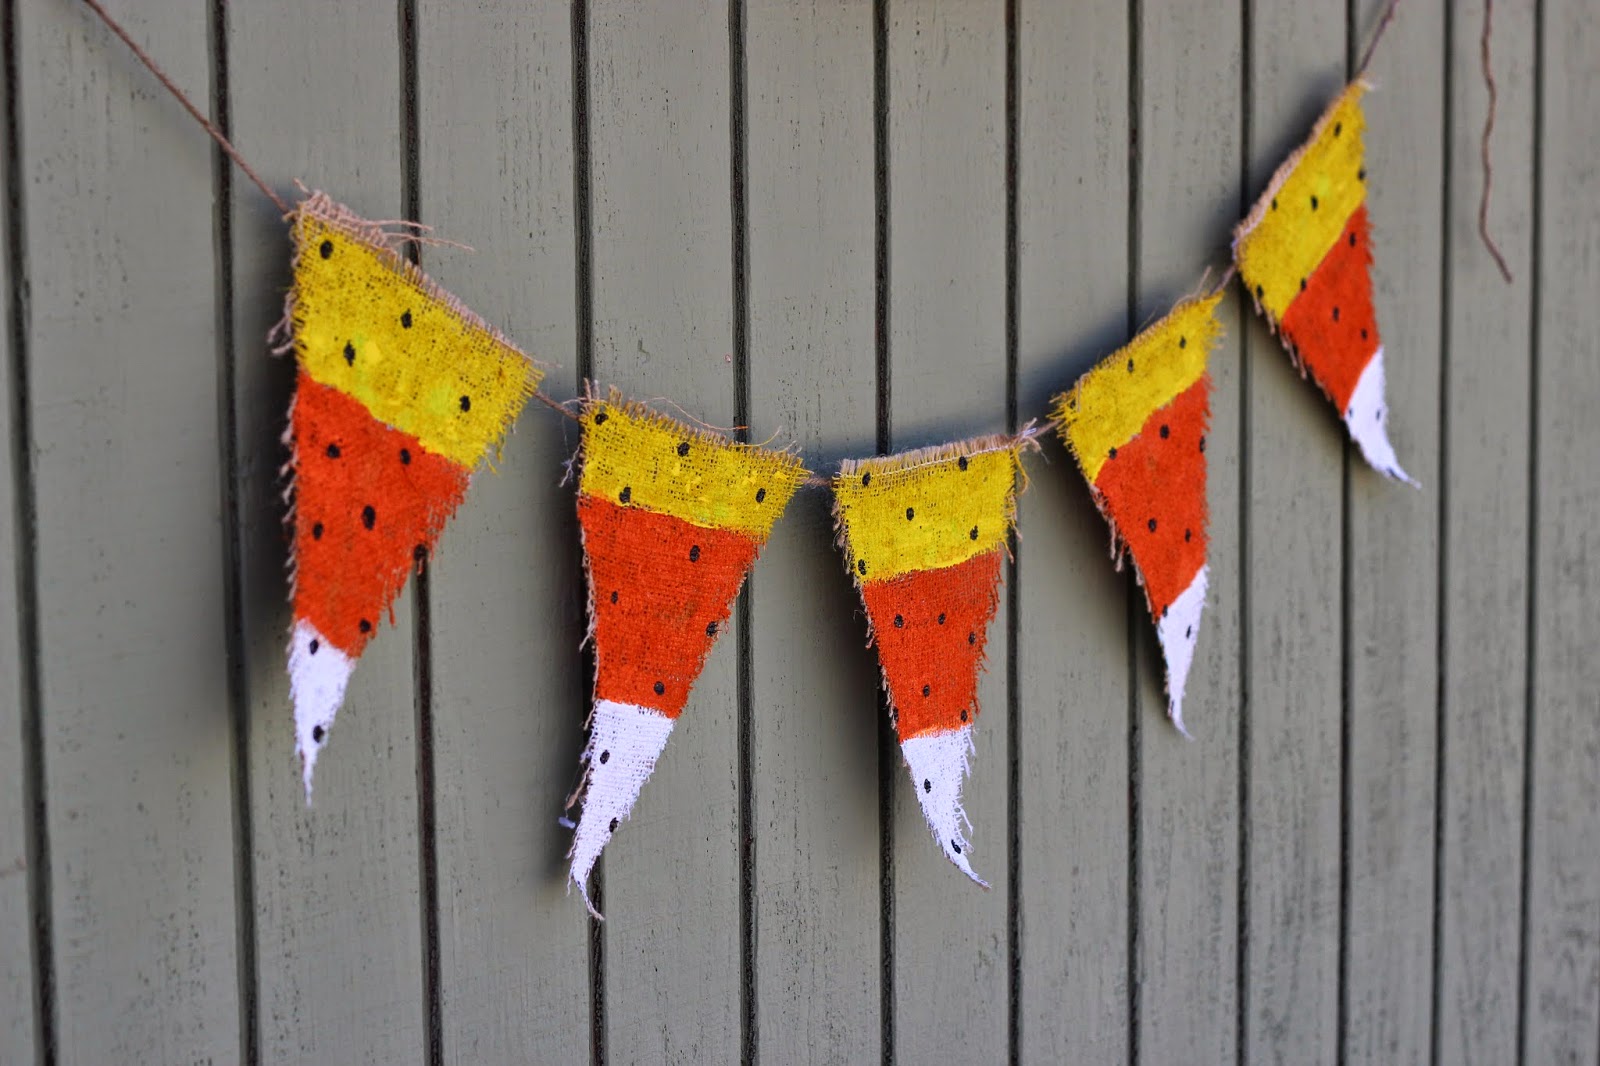
I think painting burlap is my new favorite thing! Paint makes burlap, stiffer and so much easier to handle. This banner was super simple to make, here is what I did! 

I up-cycled an old happy birthday banner that I made last year, I grabbed some paint and a brush! I wanted the banner to look handcrafted so I didn't tape off my lines, I hand painted stripes judging by eye their distance apart.


I have experimented with a bunch of different ways to hang these flag banners, and by far hot glue is the best solution!


Here it is, it was great not to spend any extra money on this fall decoration. I will re-use it every year!

Wednesday, October 8, 2014

Halloween Party Invitations {Free Printable}


We are having a halloween party!!! Our neighbor and I are throwing it at our house. Times like these I really wish our friends and family lived closer! I'm not a huge fan of halloween, but it is a great opportunity to get everyone together, and also a fun time to craft! 

I originally wanted to make our invitations, but I quickly learned it's supper difficult without any adobe programs on my computer. So I searched the internet for a free download and I found THIS awesome invitation. We didn't have white card stock to print the invitation on, so we printed it on white computer paper and mounted it on purple card stock. 


Little neighbor boy hands helping cut some paper. He did a great job "blading the paper off" as he put it!


The blog that I found this invitation on is AWESOME! I will definitely be visiting it more frequently! Here is the link if you want to look around: http://liagriffith.com/

Sunday, October 5, 2014

Homemade {Teething Biscuit}

Our boy has no teeth but he is a drool factory, which leads me to believe he is teething. Somehow I have become this overprotective momma and I don't want anything but the best ingredients going into  my boy's little body. I'm sure I will get over it, as life gets busy and he requires more food. For now, I am taking advantage of my free time and making teething biscuits from scratch. 


He loves them, and it's keeping him occupied for now! I think these are going to be a great treat to help occupy him when we fly to the east coast next week!

Here are the ingredients:

  • 1 cup baby cereal ( I used brown rice baby cereal)
  • 1 cup whole wheat flour
  • 2 tbsp coconut oil
  • 1/3 cup organic apple sauce (I made my own, here
  • 2-4 tbsp cold water
Combine all the ingredients, except for water, into a bowl.  Add water one tbsp at a time until a dough is formed. Roll dough on a floured surface, use cookie cutters of your choice! I experimented with different shapes using a series of round cookie cutters and a straight edge. I also used some of my rubber stamps to imprint designs into the biscuits. 


Crockpot {Apple Sauce}


This is super yummy and easy to make! The only catch is it takes 6 hours. 

Here are the ingredients:

  • 10 medium apples (use a combination of varieties)
  • 1 strips of lemon peel - use a vegetable peeler
  • 1 tsp fresh lemon juice
  • 3 inch cinnamon stick (or 1/2 tsp cinnamon)
  • 5 tsp light brown sugar (unpacked) - or agave

Peel and core your apples, and combine all the ingredients in a crock-pot. Cook on low for 6 hours. Mash with fork or blend if you want a smoother consistency (don't forget to pull the lemon peel out). I thought our apple sauce was a little too sweet, next time I will put less sugar. 

Enjoy the taste and the smell of fall in the air!